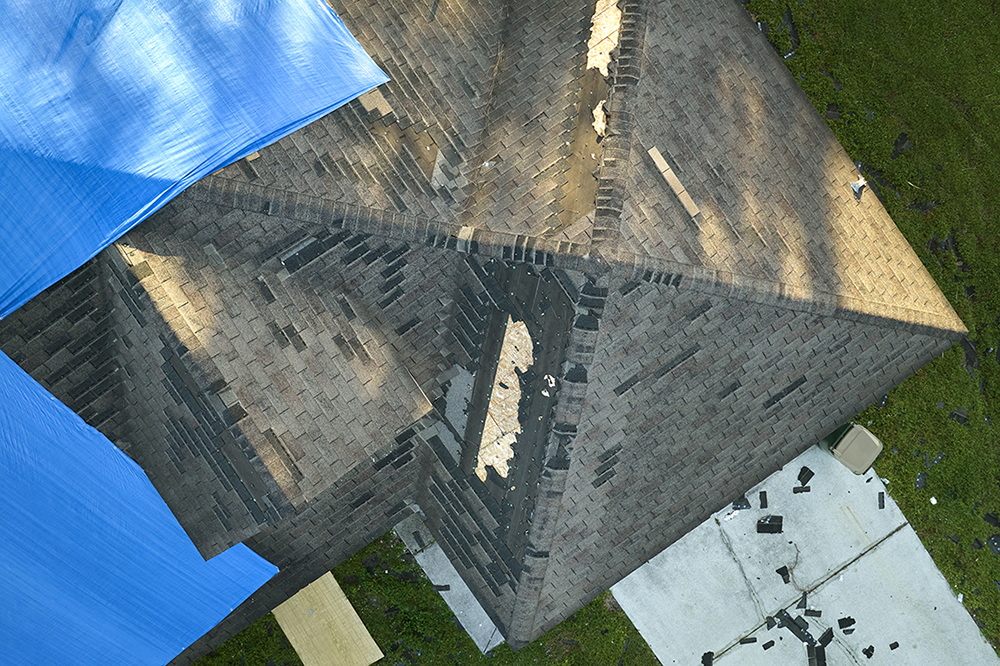
Replacing your roof is a major home improvement project that requires a lot of planning, skilled labor, and clear communication. When homeowners face storm damage, age-related wear, or leaks, the thought of dealing with a big construction project can feel overwhelming.
Knowing exactly how the process unfolds from start to finish removes the guesswork and brings peace of mind. If you’re dealing with sudden storm damage or proactive maintenance, understanding the process of a professional roof replacement in OKC project helps you adequately prepare your property and your family.
Step 1: The Initial Inspection and Estimate
Every successful roofing project begins with a thorough and honest evaluation of your current roof. A reputable local contractor will climb onto your roof to inspect shingles closely and examine decking, flashing, and attic space. They’ll look for hidden structural damage, ventilation blockages, and the true extent of the wear or damage.
Following this assessment, your contractor will provide a detailed, itemized estimate outlining material choices, labor costs, and projected timelines. This consultation gives you a clear roadmap and ensures that everyone can agree on the scope of work before it begins.
Step 2: Pre-Installation Preparation
Once you approve the project scope, the preparation phase begins! A professional crew will coordinate delivery details so that heavy materials arrive safely at your home right before construction begins.
As a homeowner, you can take a few simple steps to protect your property before the crew arrives. Move vehicles out of the driveway to give workers clear access for equipment and debris disposal. Take down fragile wall hangings inside your home and make sure to protect anything else that might be affected by the vibrations of removing old shingles. Finally, clear your patio furniture and trim back low-hanging tree branches to give the installation team a safe workspace.
Step 3: Tear-Off and Deck Inspection
On the first day of construction, the real transformation begins. Crews start by laying down protective tarps around the perimeter of your home to catch falling debris, protect your landscaping, and keep your siding safe from damage.
The team then strips away all the old, damaged shingles and underlayment, down to the bare wood deck. This step is critical because it allows the contractor to inspect the underlying plywood or OSB sheathing for rot, sagging, or water damage. If the crew discovers any weakened or compromised wood boards, they replace them immediately. This means that your new roofing system will have a rock-solid foundation.
Step 4: Installing Underlayment and Protection
With a clean and sound deck exposed, the installation team begins building up the weather defense layers. Crews roll out high-performance synthetic underlayment across the entire surface to serve as a vital secondary water barrier.
In vulnerable areas, such as roof valleys, eaves, and around chimneys, workers apply a self-adhering ice and water shield. This specialized membrane seals tightly around fasteners and prevents wind-driven rain from seeping into your home during severe Oklahoma storms.
Step 5: Laying Down Shingles and Flashing
Next comes the exterior layer that gives your home its fresh and polished look. Installers secure starter strips along the eaves to lock the initial row of shingles down against high winds. They then lay out your chosen shingles, like durable architectural or high-performance impact-resistant materials. This is completed by working systematically from the bottom up.
During this phase, crews also install brand-new metal flashing around chimneys, skylights, plumbing vent pipes, and wall intersections. Fresh flashing also acts like a protective rain barrier over vulnerable joints. This prevents leaks in areas where corners meet. Proper ridge ventilation is also installed along the peak to keep air circulating through your attic.
Step 6: Thorough Cleanup and Final Inspection
A professional roofing crew treats your property with absolute respect from start to finish. Once the final shingle is nailed down and the ridge caps are secured, the cleanup process begins.
Workers sweep your yard, driveway, and flower beds with powerful magnets to capture stray roofing nails, staples, and metal scraps. They haul away all leftover debris and old shingle remnants, leaving your property cleaner than they found it. Finally, a project manager conducts a detailed quality inspection to verify that every detail meets stringent craftsmanship standards.
True Local Expertise
Choosing an established local team makes all the difference when you invest in a roof replacement in OKC. For over forty years, Jenco Construction has helped local homeowners navigate repairs and replacements with honest assessments, superior materials, and unmatched regional experience.
Contact our team today to get a quote and schedule your consultation so you can enjoy complete, long-lasting protection for your home.